Hello every one,
I am going to spare you all the usual explanations as to why I have been so absent in blog world, except to say we are all good here and I have been having fun planning a trip, but more on that later. Whilst I haven't been blogging much I have been busy with miniatures. I actually finished all the textile aspects of the Twins room and am now working on the furniture, hopefully I'll be finished in time for a nice Christmas post....fingers crossed. So without too much waffle and quite a few pictures I will show what I've been up to.

Now the top photo is there because you all know I love a sneak peak, it's also gives the best view of the blind I made to go under the sheer curtain, which I might add was made from a piece of my favourite beach dress that I happen to tare.

I used the same fabric which is a cotton voile for the blue bed cover and chose a quilting fabric with a tiny blue rose for the coverlet on the bed and the canopy. The rose fabric was a pure white but I decided I wanted to break the starkness of all the white by antiquing it so I tea dipped it all before sewing. I like the white and cream together and I think it brings out the antique rose on the fabric of the wing backed chair which you can see in a later photo.

For the valance I used a cotton voile napkin that had a lovely edging that sat so beautifully and covered the underneath of the bed, a great place for the twins to hide sweet treats they are not supposed to sneak from the kitchen....; )

A close up of the rose fabric cushion trimmed in lace and the contrasting fabric I lined the canopy with.


A close up of the chair fabric and inside of the canopy.

The bed on the other side

Close ups of the coverlets


A peak through the window because you know I like them!

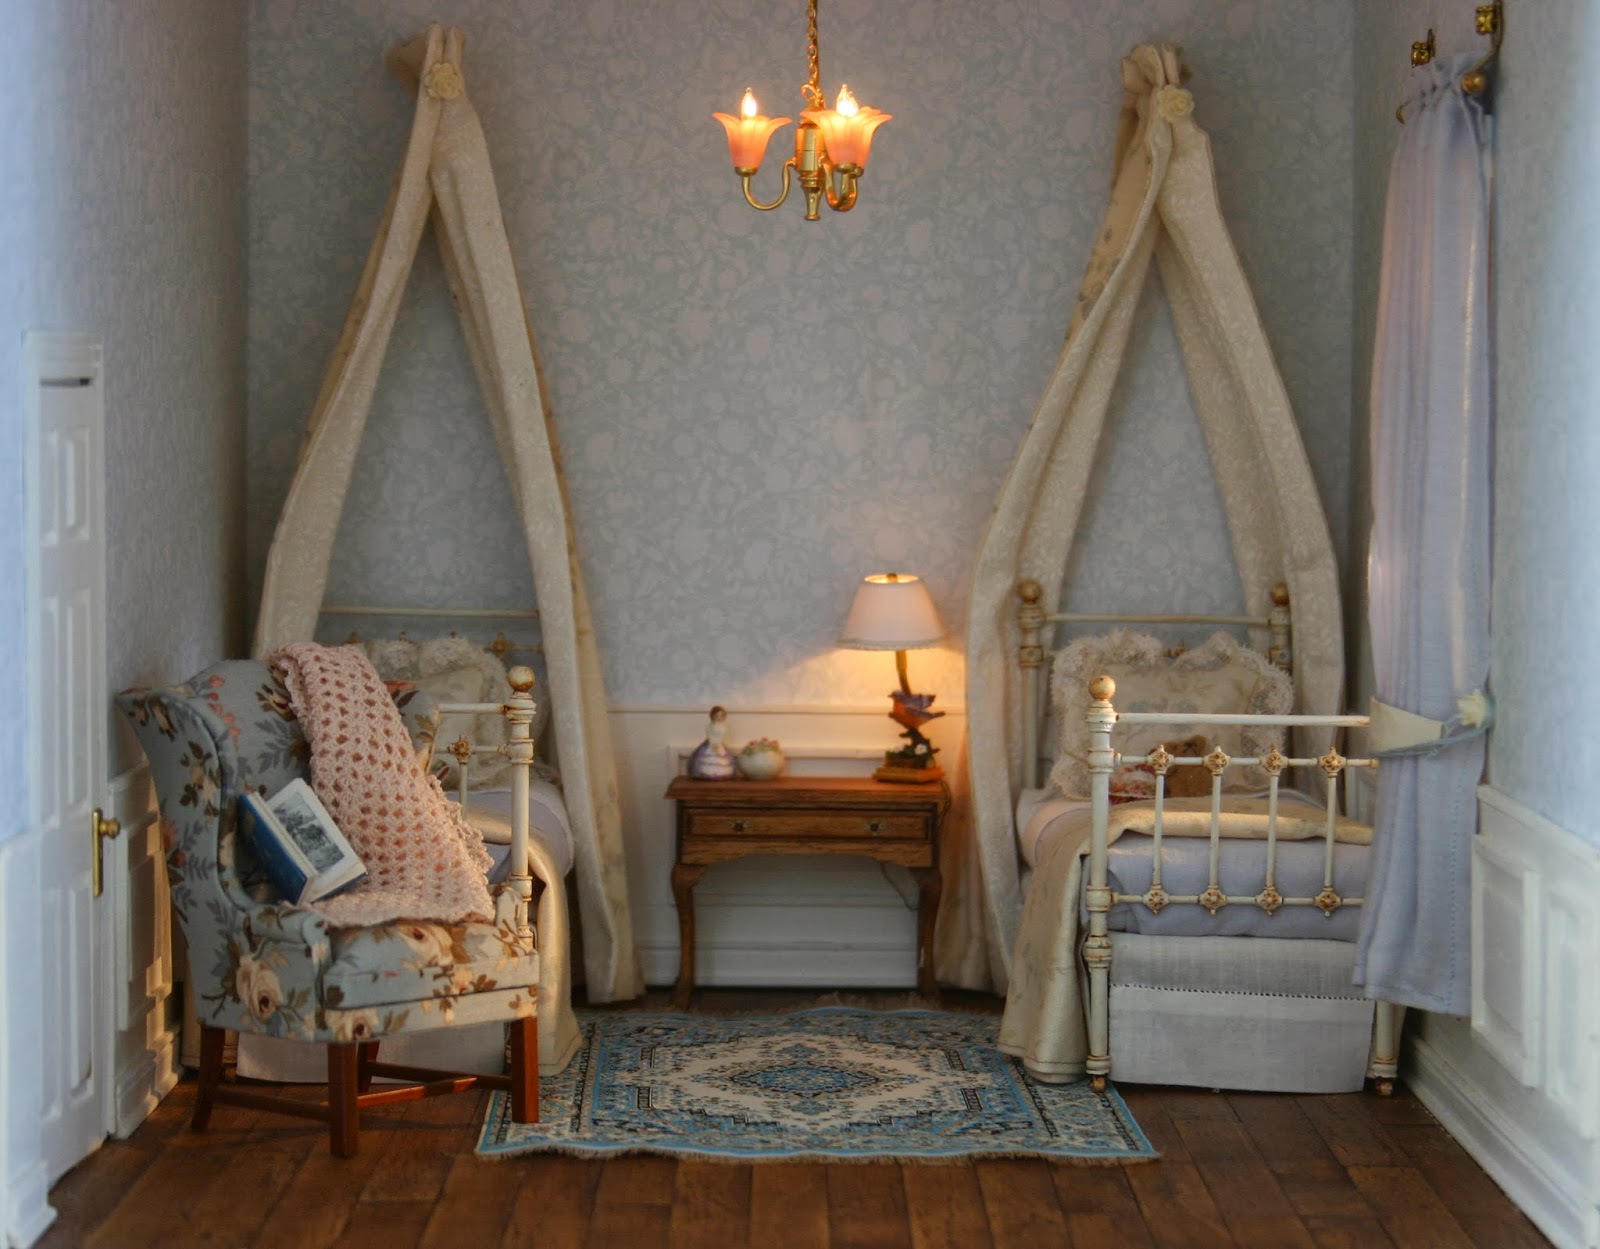
A view of the room as a whole which I'm a bit disappointed in because it doesn't show it's depth, it really is a large room.

The lace trimmed pillow

A close up of the rose curtain tie

This one just because I like it!

And this because I haven't even begun to show you some of the sweet little items I have collected for the room, that might have to wait till Christmas....; )
Well, I hope you all enjoyed, I have bombarded you with photos but I wanted to cover everything, overall I did a bit of research on girls bedrooms of the 1930s and 40s and this type of traditional floral on floral theme seemed to be the style of the time, whilst it wasn't what I had pictured when I first imagined decorating the house it has certainly evolved into something I love and as time goes on I realise how similar it is to painting, it's all about telling a story and I hope you see one emerging here.
Much love to you all and a very warm welcome to my new followers.
Fi XXXX